
Downloading Files from Microsoft Teams
With the deletion of Teams for taught modules from the previous academic year, you may need to download files and resources that you’ve shared in your Team to avoid them being deleted.
To download files from a Team;
- Open the Team in MS Teams, you should see a tab at the top for “Files”.

- With this tab open, hover the mouse cursor over the file you want to download. A white circle will appear to the left of the file, click this to select the file.

- Repeat for all files you want to download, or if you want to download all, click this same circle at the top of the list of files (to the left of the column headings “Name”, “Modified” etc.) to select all files.

- Click the “Download” button at the top of the page.

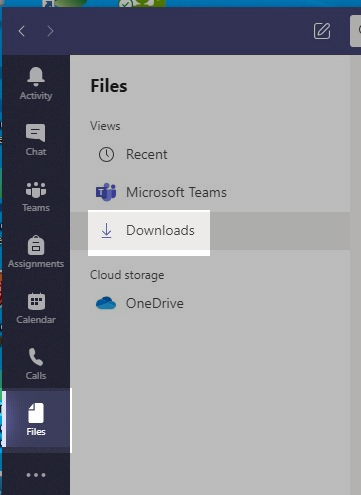
- Once downloaded, open the “Files” tab on the left of MS Teams.
- Select “Downloads” under “Views” on the left.
- You should see the downloaded document(s). Multiple documents may be contained in a .zip file, which can be extracted.