
In today’s digital age, video content has become a vital tool in higher education, especially given the accessibility of high-quality video and audio recording equipment with a reasonable price range. To ensure the recording quality of visual and audio elements, users should not only rely on good hardware but also be aware of how to utilise the gear appropriately. Whether using a webcam, mobile device, or professional-grade equipment, considering the following guidelines during the content creation process for self-recording can significantly enhance the quality of both visual and audio elements.
How to make your video quality look more professional?
All professional video productions involve three pivotal stages, Pre-production, Production and Post-production, each phase contributes substantially to visual and audio quality. Indeed, this blog focuses on how ‘we can do better’ during the production stage with just a subtle change to a setting or an extra awareness before shooting, you can have quick wins from free solutions to small budgets investment, which are elaborated on below in two parts, i) Visual Enhancement, and ii) Audio Enhancement.
Visual Enhancement
We all know that lighting equipment can make a big difference in visual quality for video production, and it is common to find that production crews usually implement traditional three-point lighting setup (key light, fill light, and backlight).
However, for self-recording video shooting with limited budgets and resources, an affordable LED lighting ring will suffice. Beside the lighting setup, the following points would be helpful to enhance the video quality visually.
- Position yourself within a well-lit area, utilizing either natural light from a window or a lighting ring in front of you.
- Avoid your camera facing the direct light source to prevent shooting with backlighting.

- Set the height of camera lens either at eye-level or slightly above your eye-level, achieving this by using an adjustable laptop stand or a stack of books.

- Choose a simple, neutral or professional background, such as a bookcase or plain wall.
- Avoid using a virtual background or blurring the background.
- Avoid creating a moiré effect (flickering effect) in the video by NOT wearing outfits with busy prints such as stripes, herringbone, and plaids.
- Choose an outfit for shooting that makes you feel comfortable and confident.
Audio Enhancement
Traditionally, pro audio microphones required an audio interface for computer connection, no matter which type of mic, e.g. dynamic mic, condenser mic or lavalier mic. Recently, the live broadcasting industry have prompted leading professional audio manufacturers, including Shure, Sennheiser, and Mackie, to develop professional mic with USB connection instead of the XLR connector.
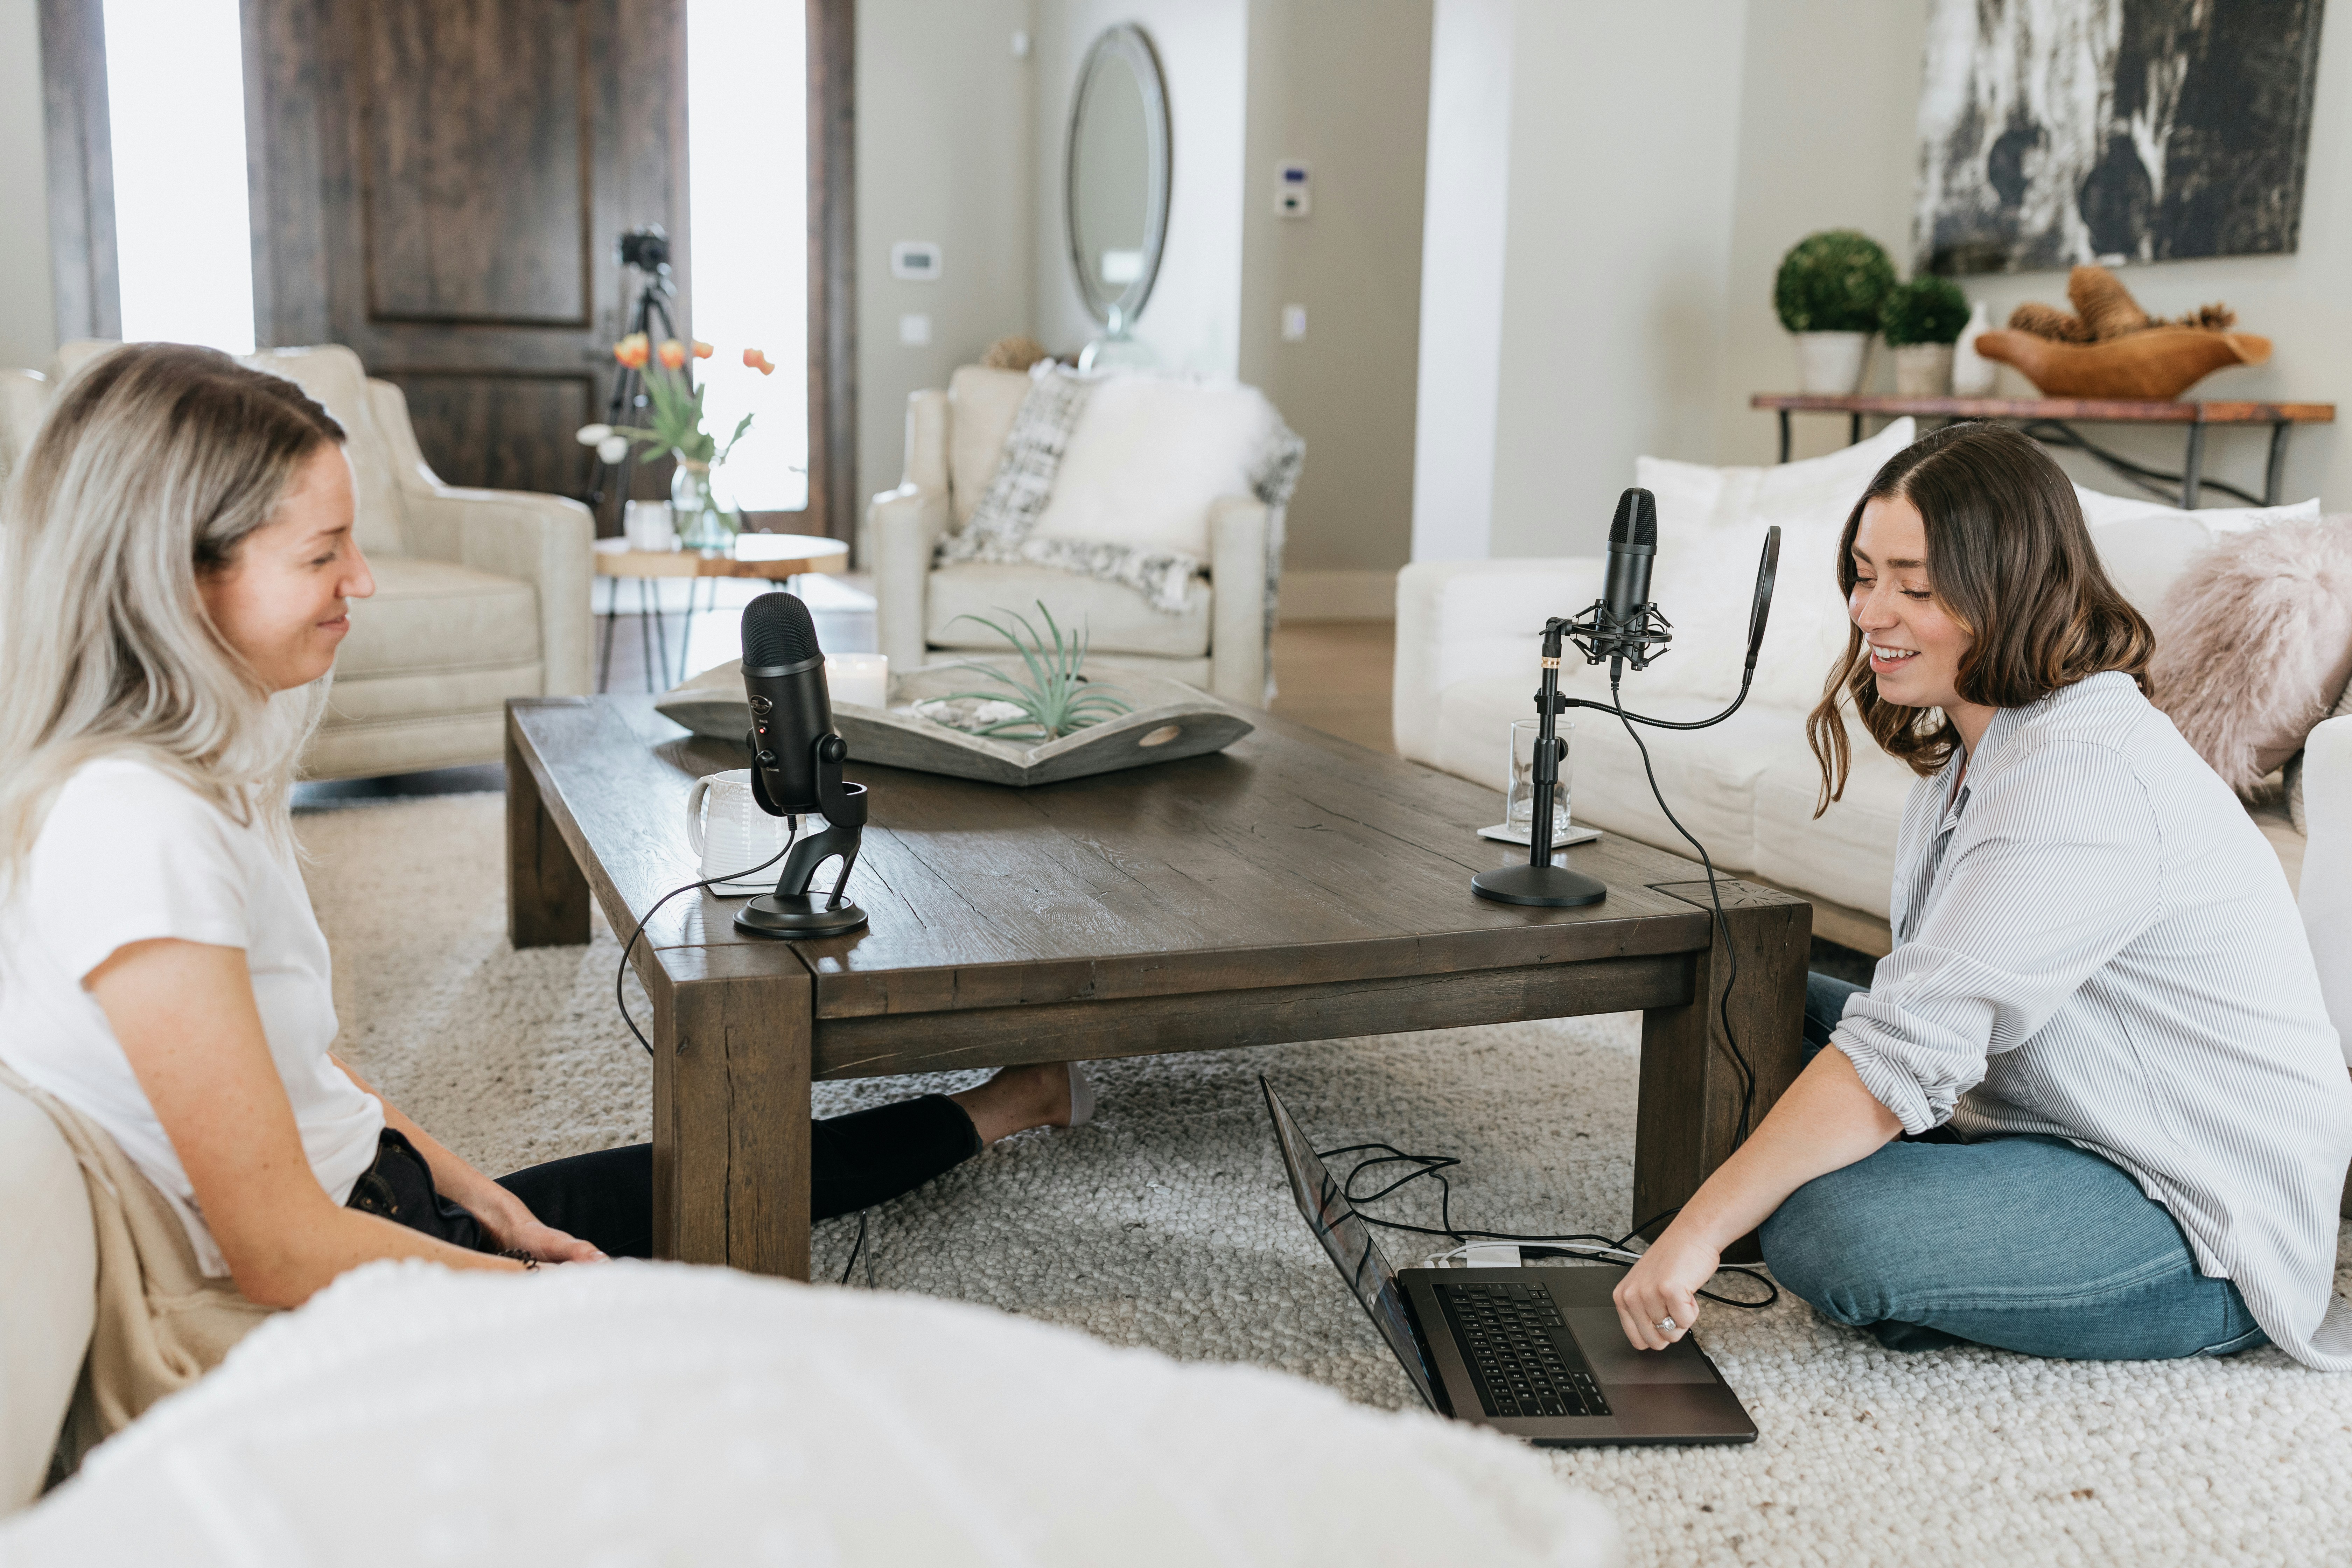
The audio quality is crucial for conveying the presenter’s messages, and this component is commonly overlooked by content creators. It is worth spending part of the production budget to purchase a professional USB mic for enhancing the audio quality. In fact, you might find USB microphone prices vary widely, ranging from budget options priced at less than £50 to midrange options around £150, and high-end quality microphones priced at more than £300. In addition, the following points would be also useful to improve the recording quality.
- Use curtains or rugs to diminish unwanted sound reflections from the walls or floors.
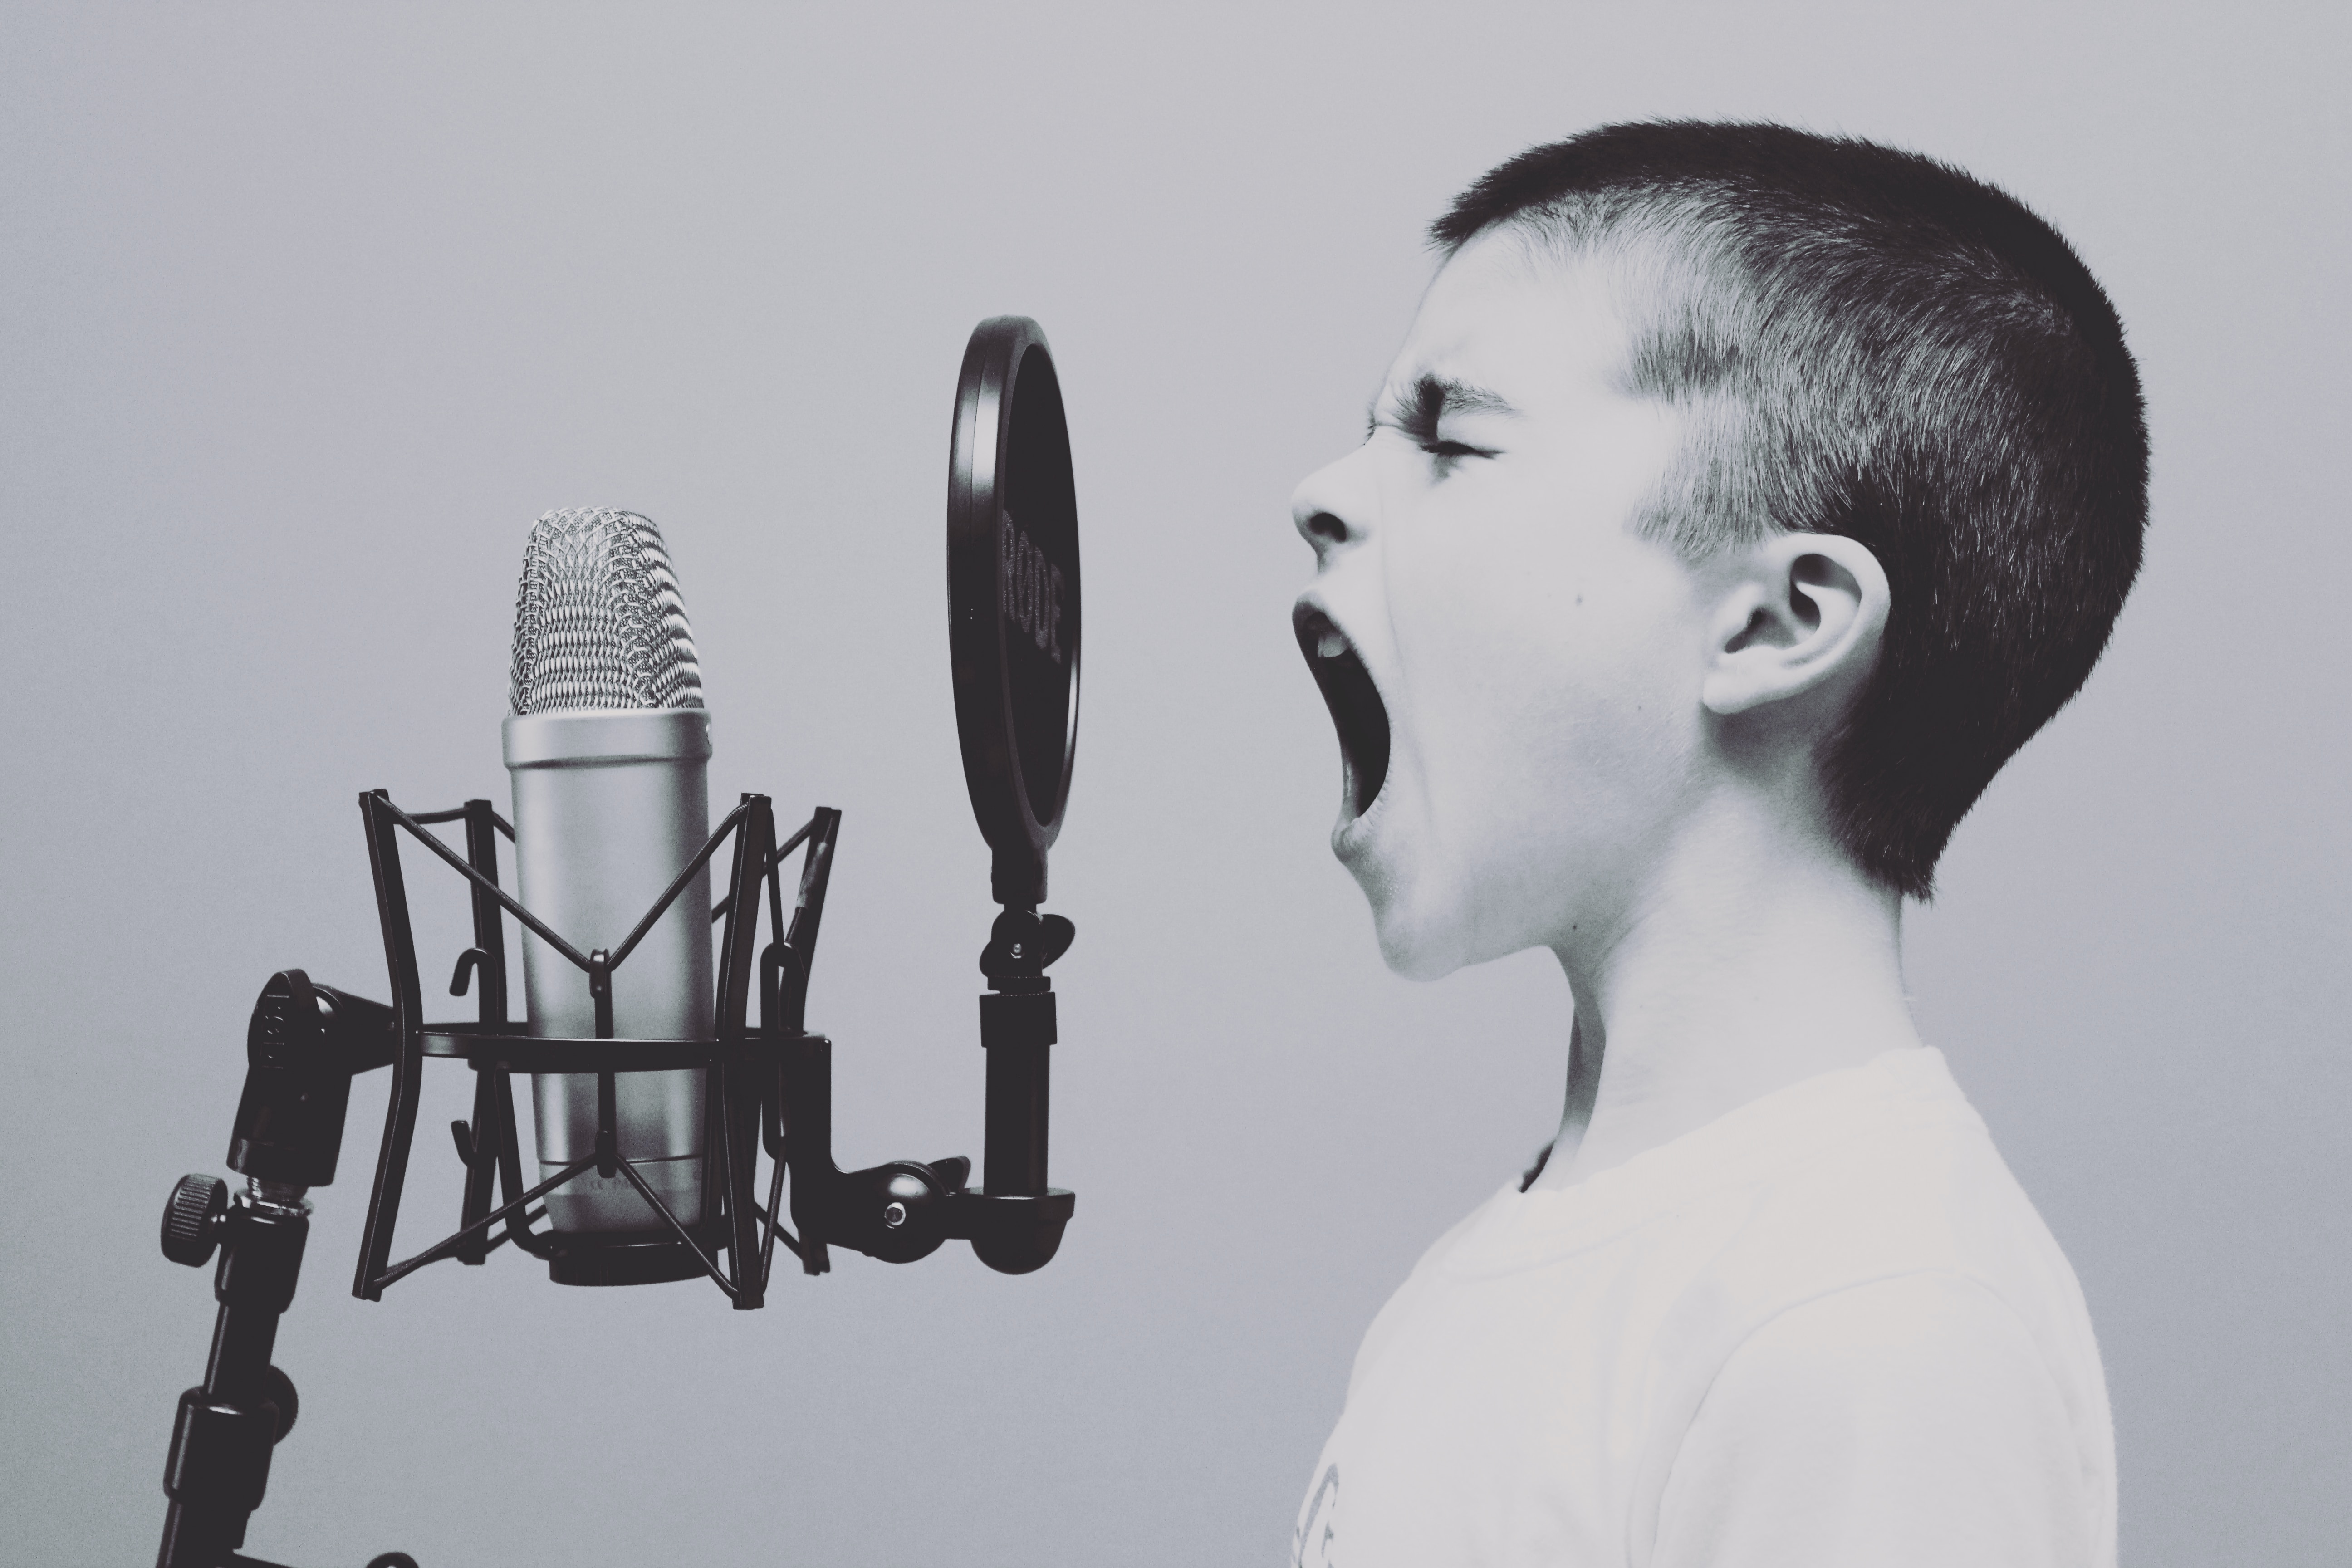
- Use a pop filter to reduce or eliminate popping sounds, and avoid plosives during recording vocal speech.
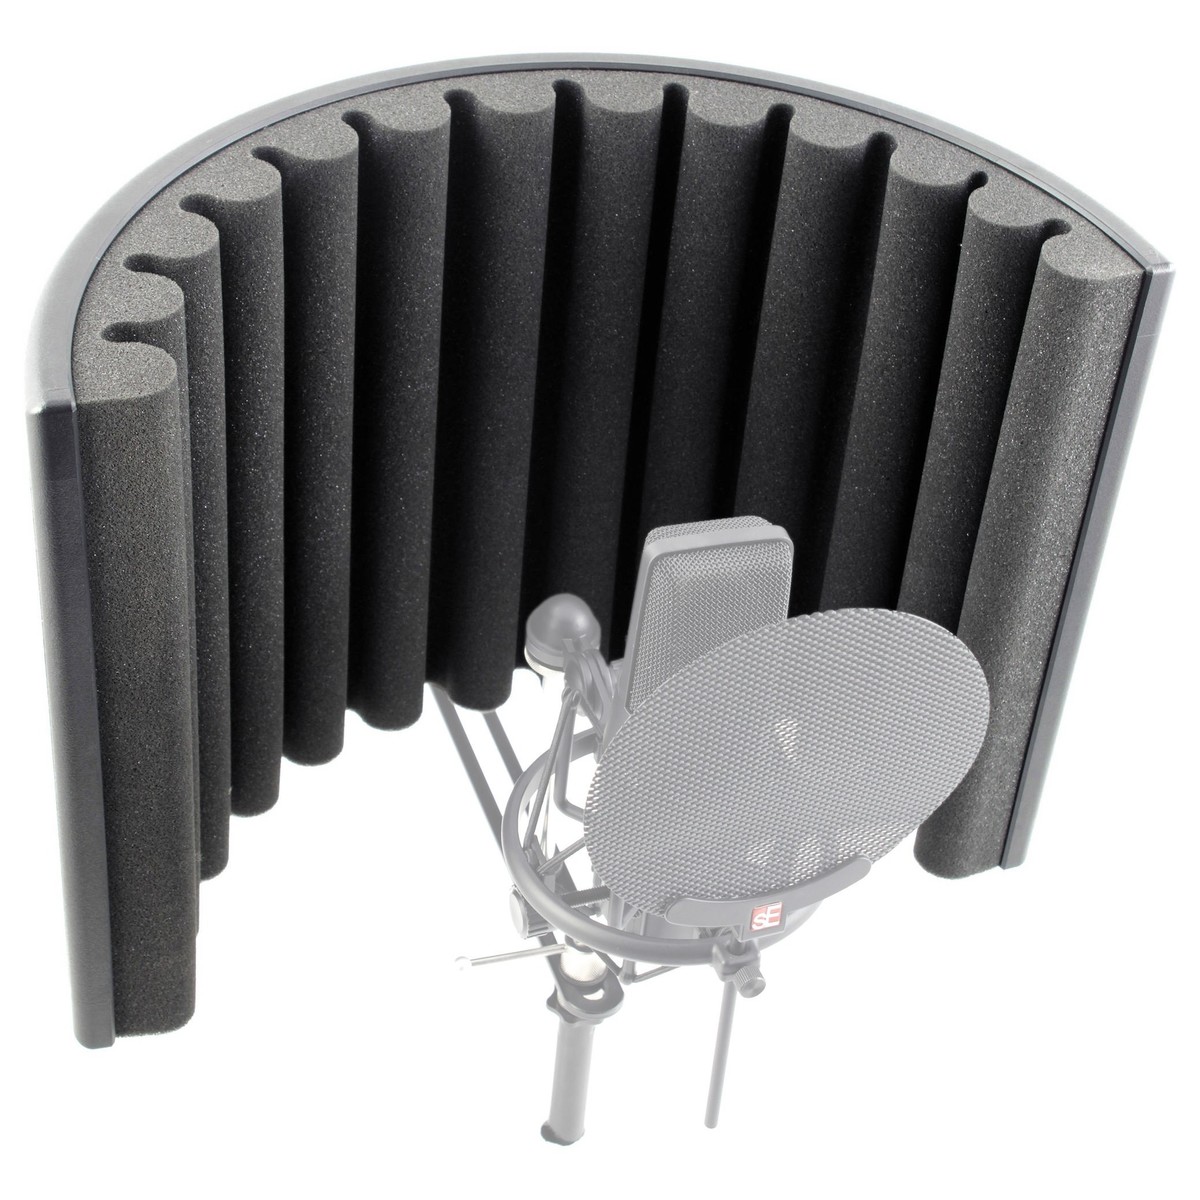
- In environments with poor acoustics, deploy a microphone reflection filter to mitigate reflections from different surfaces in the room.
- Conduct a mic test and playback to identify the ambient noise. Where possible, isolating any ambient noise by turning off some equipment or devices.
- Conduct several 10-second recording tests to identify the proper distance between the vocal source and the audio mic.
- Use headphones to monitor voice level during the mic test before the video recording.
In reality, you may have already recorded video clips without considering the points listed above. In case you need to enhance the quality of your recorded video content, you could still use different post-production tools and applications to improve the quality, such as adjusting colour balance, and removing ambient noise, although that is not ideal for achieving high quality video content. Another blog will be released later to introduce more on how to deal with the post-production process.