You will need:
- Gardening wire
- Secateurs
- Gardening gloves
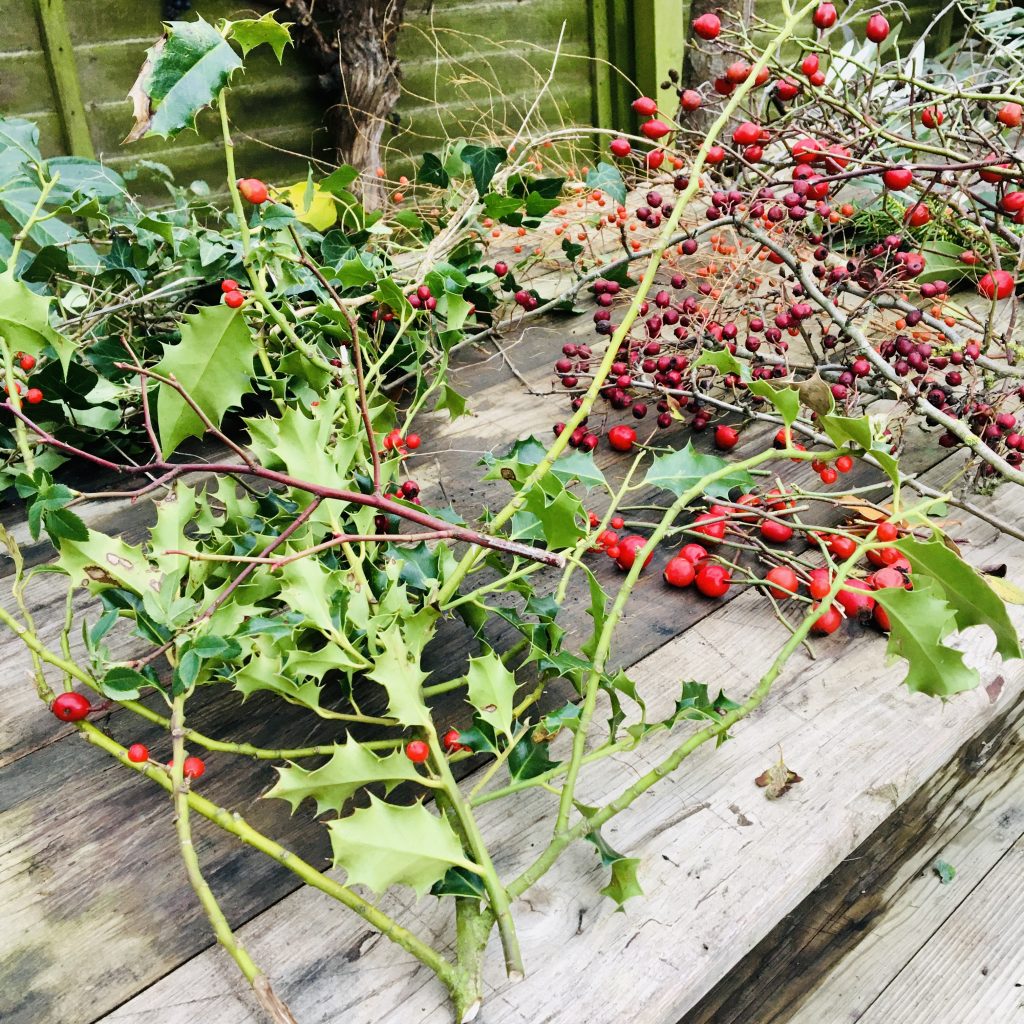
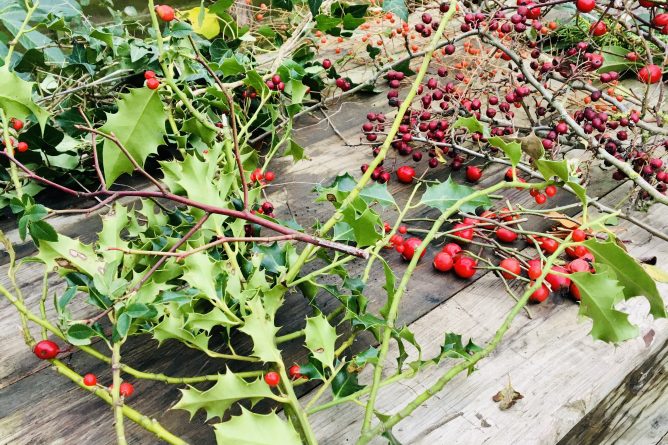
- Foraged natural materials (e.g. willow, twisted willow, holly, ivy, hawthorn berries, rosehip berries, laurel, olive or fir branches)
- Extra decorations (ribbons, festive spray, pine cones -optional)
The only rule of thumb for wreath making is that there are no rules!
This activity is all about having fun preparing for the festive season. It’s about playfulness and creativity, so gather some friends, don your woolly hats a go for a good old-fashioned walk in the countryside. Best take a big shopping bag and pair of secateurs for carrying your haul home, and don’t forget those all-important gardening gloves as you’re sure to get prickled otherwise.
Have fun selecting the biggest brightest rosehip berries you can find, and fill up your bag with lots of arm length pieces of twisted willow or ivy as these will help form the base circle to attach everything to. Be careful to forage only where you sense it will not have a big impact on the environment, don’t strip a bush bare for example, take a few berries from a range of sources, and never forage on private property.
If you struggle to free style it and need some structure in your selection, check out Country Living’s 80 ideas for Christmas wreaths on google (or Ecosia, the search engine that plant trees!). It may help you form an idea of what to look out for, but what’s more fun than going on a treasure hunt and being inspired by what you find by chance? Once you have a cheerful variety of autumnal colours and textures in your bag return home and put the kettle on. Once you’ve warmed up, its time to play! Just a few top tips to get started:
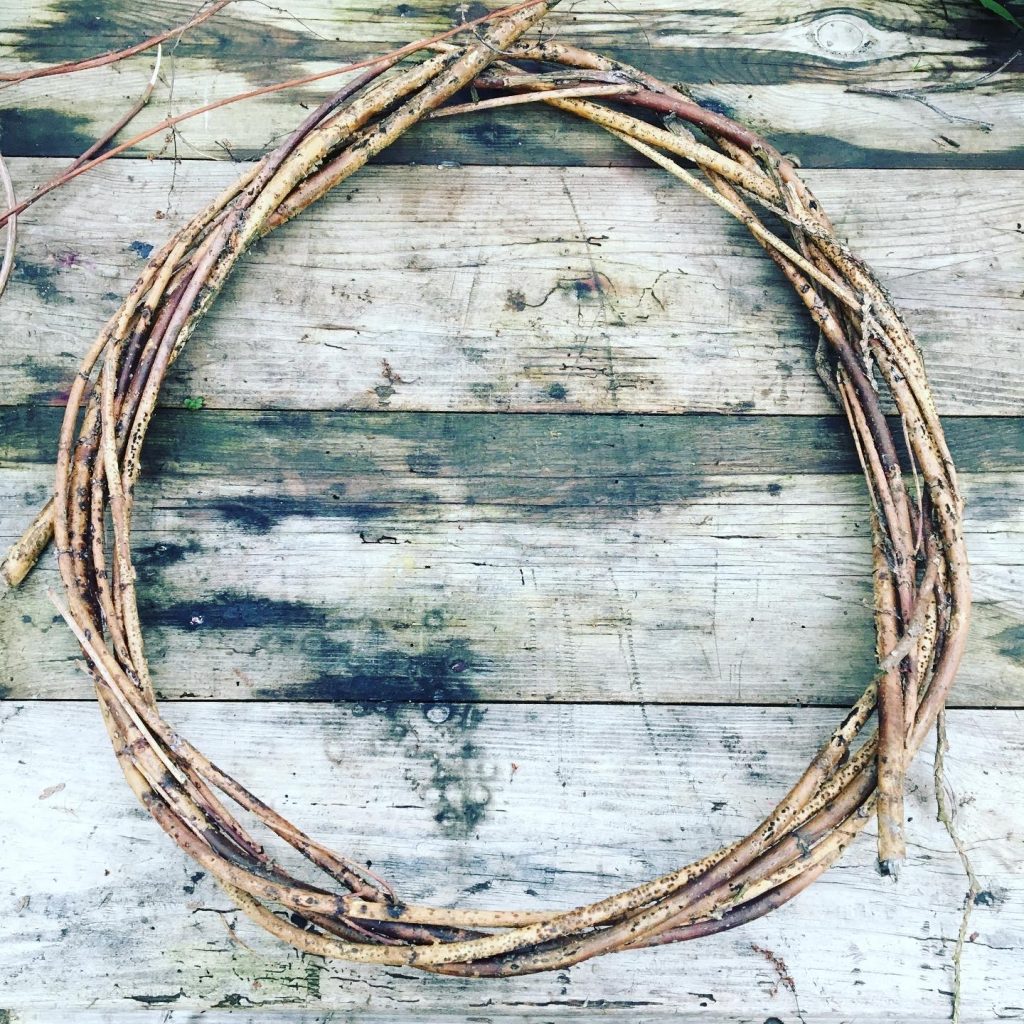
- Begin by forming a pizza-sized circle with you strips of willow, ivy, or even grapevine if you can find any. You can loosen hazel rods or twines by first bending them over your thigh to start to stretch them, then twist a few around each other and build up your circle. Better still, use last years base circle if you saved it, and just add new twines.
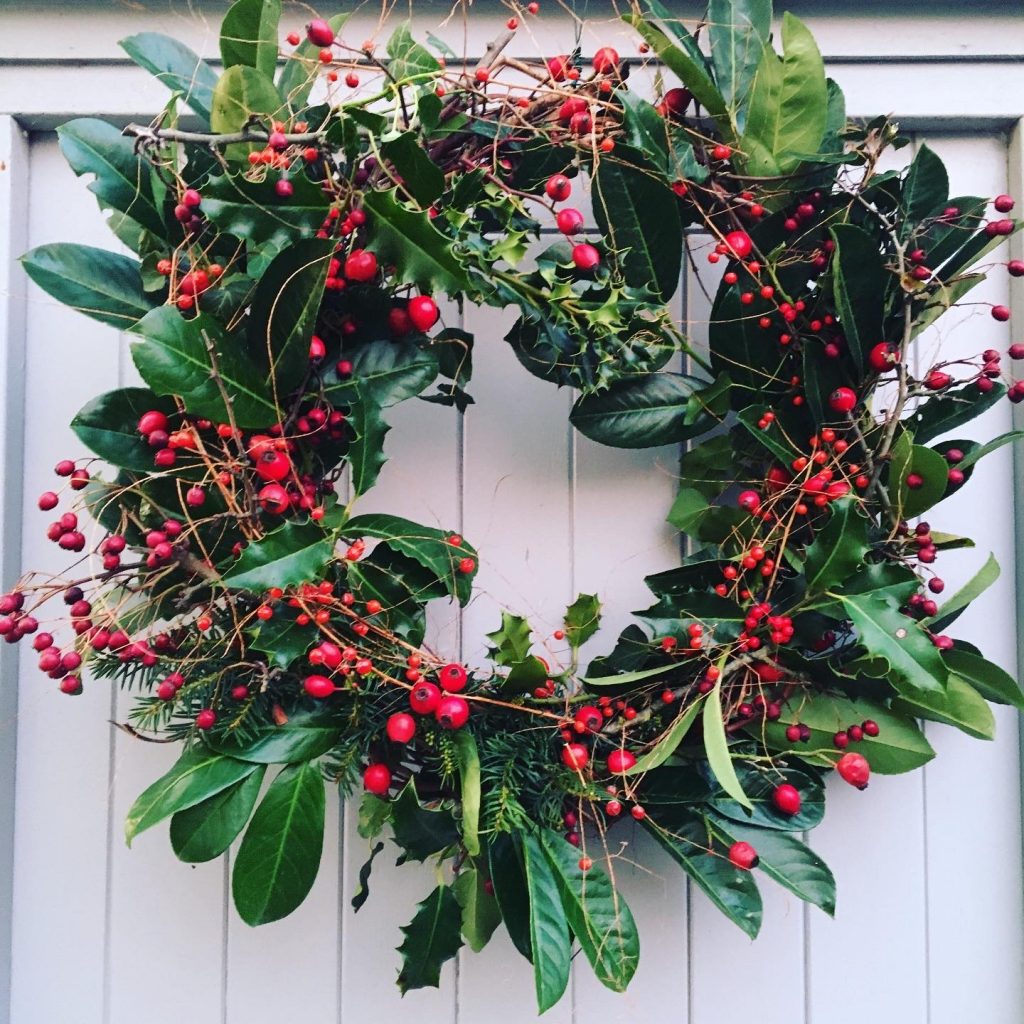
- Build up your base by attaching your big leaves, like laurel ivy or holly branches cut to the size of your forearm. Keep adding your green foliage until you are satisfied with the look and feel of your wreath.
- Now’s a good time to secure your display so far by twisting gardening wire around your leaves. Go around and around and don’t forget to create a loop at the top of your wreath with the wire enabling you to hang it later.
- Here’s when you can go wild adding all your colourful berries and unusual finds, you’ll soon disguise any wire, but its good to stand back, take a look, and pull any squashed leaves free.
- Now its style this baby! Add a giant ribbon, or some glittery pinecones if you wish, make it your own, hang it on your door and watch as and everyone admires your handmade work of art.