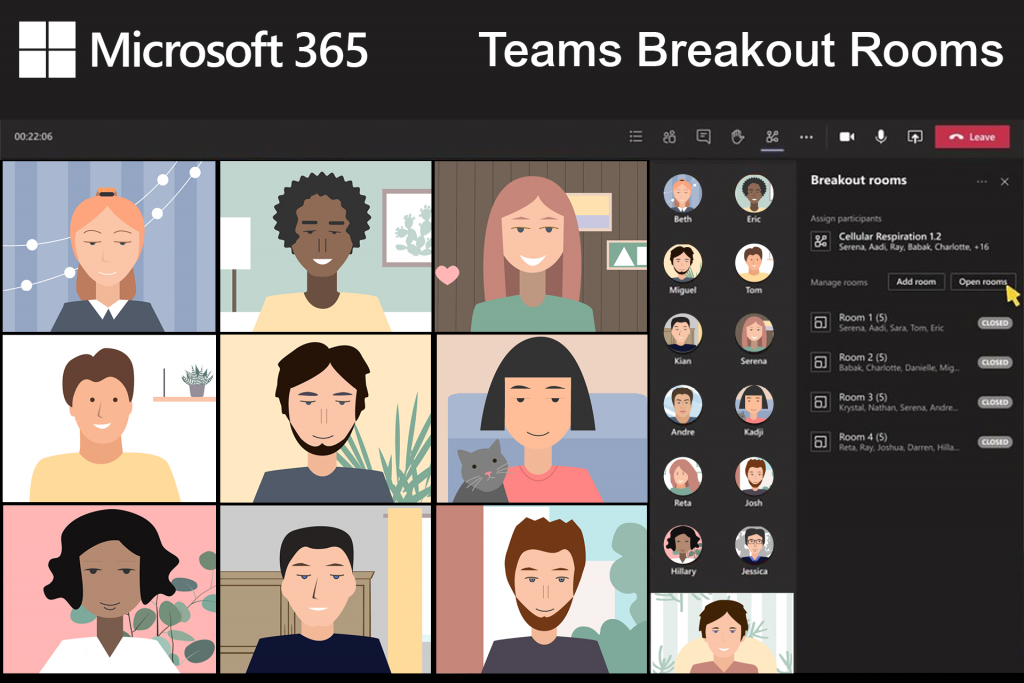
As a meeting organiser, you can use breakout rooms during meetings to add participants into working groups, and then bring them back together again.
We’ve highlighted some new options for breakout rooms below that we think you’ll find useful.
Get started with breakout rooms
You need to be using the Teams app on your PC or Mac to set up breakout rooms.
Create breakout rooms
- Start the meeting
- From the main meeting toolbar, select the Breakout rooms icon


- Select the number of rooms you want (50 max), and whether you want Teams to assign people to rooms (Automatically) or you want to choose the people for each room yourself (Manually)

To assign manually put a tick next to their name, click the Assign button and choose which room they will enter - Select Create Rooms.
To open the breakout rooms
Click Start rooms. Participants then see a message saying they will be moved. Each breakout room acts as a separate meeting.
Reassign people to open breakout rooms
While rooms are open you can now reassign people to different rooms, or to the main room. This can be useful if you want to assign facilitators between different rooms.
Timer countdown for sessions
You can now set a timer for breakout sessions. Use the Breakout rooms settings panel to choose the length of time you want the session to run for: click the ellipses to see the options.
The clock shows participants a countdown of how much time they have left in the left-hand corner, and will alert them when there are 60 seconds left. You can choose to automatically redirect participants to the main meeting room (auto-move On) or choose to give people the option to return to the main meeting room (or disconnect).
Leaving and rejoining breakout rooms
If someone leaves a breakout room, for example because their internet is slow, they will be leaving the whole meeting. When they rejoin, they will now be put back into the correct breakout room. Breakout room allocation stays the same for any subsequent sessions.

