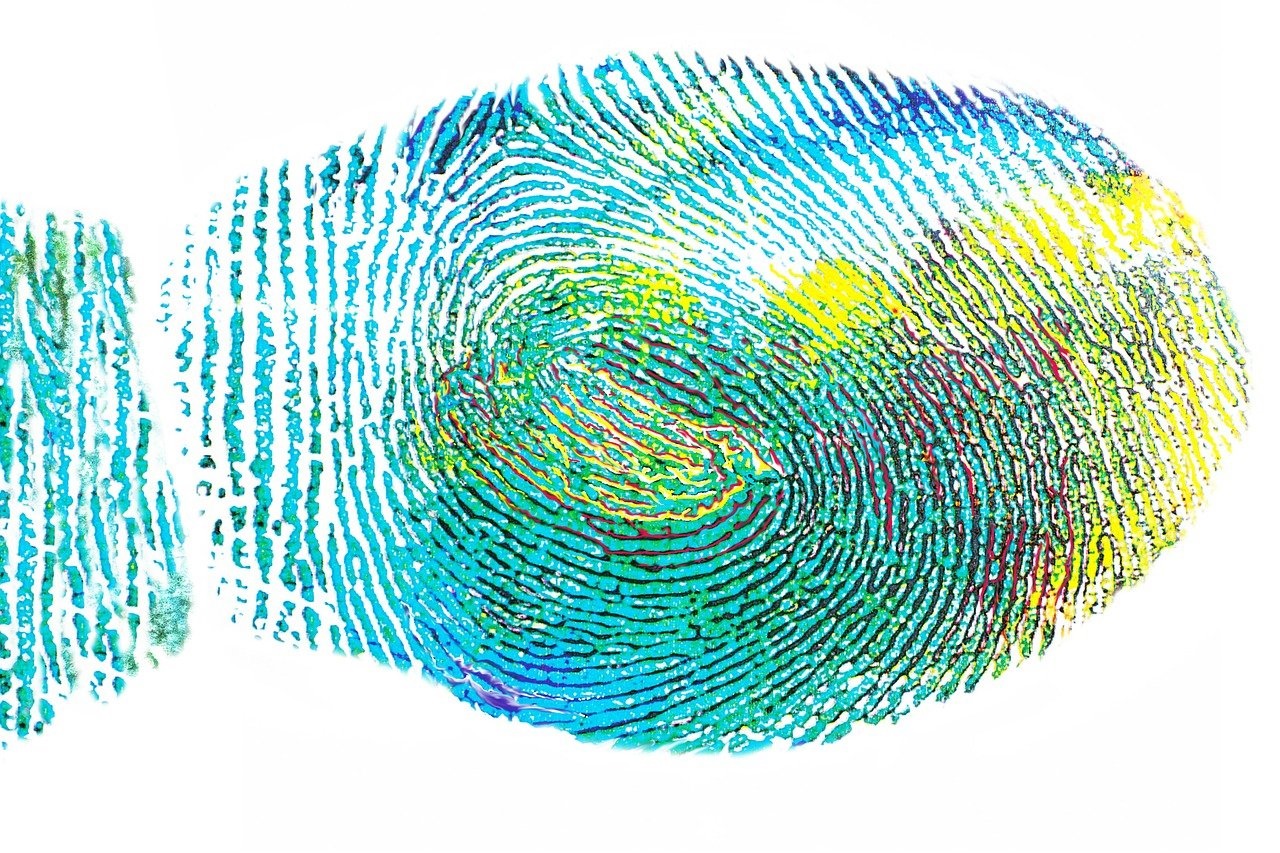
Have a go at doing your own fingerprinting at home. Share your results with us on one of our social media channels!
Development and recovery of latent finger marks
Latent finger marks are traces of sweat, oil, or other natural secretions on the skin that are not easily visible. To make these marks visible we can use some common household items.
You can use the following;
Powders
- Talcum powder
- Chalk dust
- Cornflower
- Icing sugar
- Cocoa powder
- Pencil lead rubbed on sandpaper to make powder.
Other items
To lift the prints you will need some clear sticky tape.
You will also need a small brush with fine, soft bristles. A makeup brush or small paintbrush would be just fine.
Paper to place the sticky tape on. If you are going to use white powder, get black paper for a better contrast. If you are using a dark powder, then plain white paper is fine.
Method
Watch the video to see the techniques demonstrated
- Use a clean, smooth surface. If possible, try to use a flat surface, however a glass or a mug will do as well.
- Rub the ball of your thumb or finger on the side of your nose.
- Deposit a finger mark on the surface. Do not use excessive pressure, just grip/touch normally.
- Examine the deposited mark under ambient light or using the torch function on your phone.
- Select whichever powder gives the best contrast to the test surface.
- Pick up a very small amount of your selected fingerprint powder on the tip of the brush. If the powder is in a jar, dip some of it in the lid/outside the jar.
Do not overload your brush with powder or the fine details may be lost. A little goes a long way.
- Gently sweep the brush across the latent mark. Keep the times of passing the brush over the mark limited. Be cautious as if the brush is pressed too hard on the surface, the finger mark will be wiped away.
- Examine the developed print.
- Repeat the above until you have a clear and easily visible developed print.
- Use a piece of clear tape and carefully place the tape down onto the developed fingerprint. Use a big enough piece that you can leave room on the corner of the tape to keep holding it (this will make it easier to pull up).
- Carefully and gently smooth the tape over the developed print.
- Slowly peel the tape off the surface.
- Place the tape on the contrasting piece of paper.
- You should now have a clear recovered print. You can use different light sources to visualise the fingerprint better.
- If the print is still blurred attempt a second lift, this may yield abetter-quality recovery.
Twitter: @UniKentSPS
Facebook: School of Physical Sciences
Instagram: @UniKentForensics

