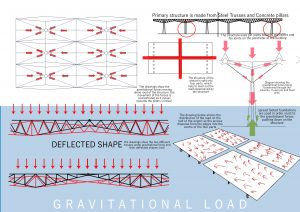
So you’ve been handed your design brief, now what?
Step 1
You dig right in! Start reading the brief and dissecting and understanding the demands of the ‘Client’. After understanding what your ‘client’ wants, you jump right into finding finding inspiration and precedents to help in explaining and developing your ideas. The default platforms for finding such inspirations are Pinterest, Archidaily and Dezeen. 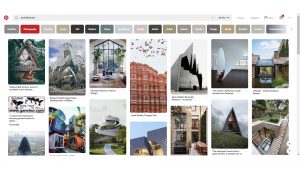 A personal favourite of Architecture students is Pinterest, with its ‘mood board’ set up and has the ability to create as many boards as you like. It’s easy to really understand what aesthetic you begin to work with on your design and helps to hold your ideas in once place.
Step 2
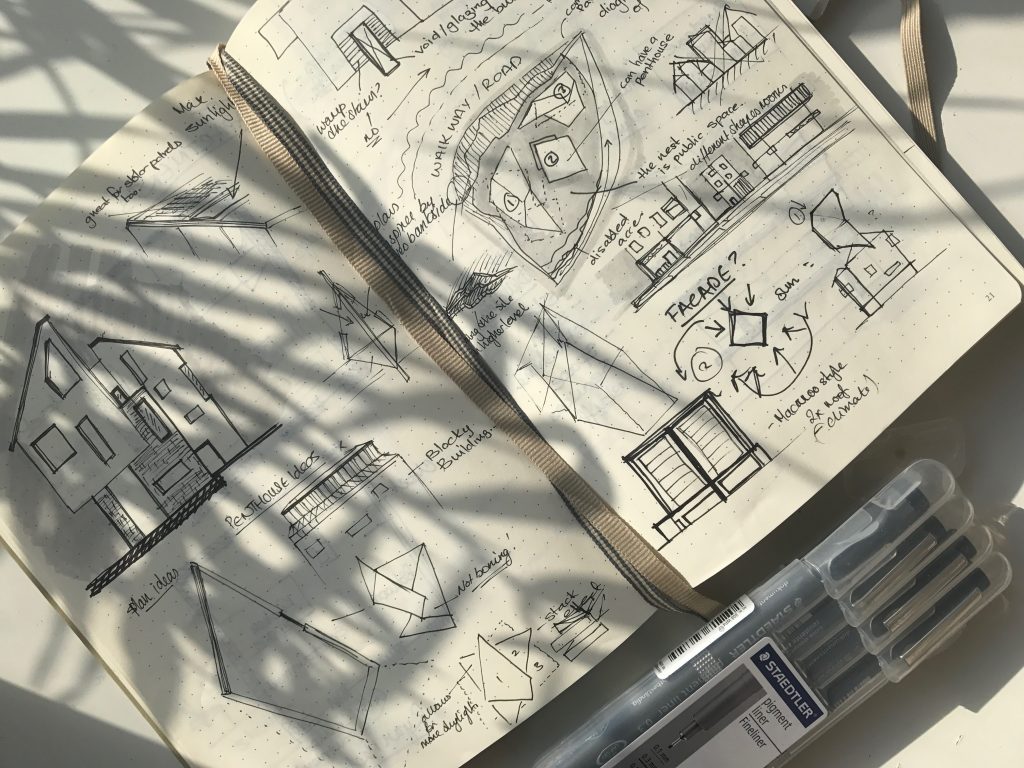
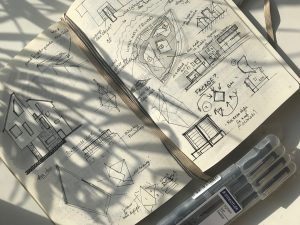
The next step to the design process involves a simple pen and your sketchbook. Drawing as your ideas run through your head is the easiest way to make sure nothing is missed out. Whereas Using computer programmes are helpful in creating ‘realistic’ designs, they are often harder to interpret your ideas through and limit your ideas to being realistic or not as crazy as you want them, when you first begin.
Step 3
Usually this is where the process in developing your ideas can differ, as some students will move on to Auto-cad in order to create Orthographic drawings. This can also be used in creating ISO/AXO drawings as well as any construction details you are required to produce.
Some will move on to using Sketchup Pro, to create models of their designs, which can be helpful to understand what the overall building will look like and if the overall design works, as well as providing you with the opportunity to capture perspectives and Isometric projection of your structure, as well as Sections and elevations.
Some students will use both programmes at the same time, which can be beneficial in creating plans and models that work together. You can also use Sketchup to capture different projections and translating it into Auto-cad can help to produce drawings that appear more professional.
Step 4
The next step is to render the final drawings. There are plenty of platforms available that produce good results, but the go-to is always Photoshop. It is crucial to render your drawings; this can take a simple design and completely change the way your client experiences it. Although there are many platforms to help in rendering your designs, Photoshop is the safest and most popular.
Step 5
Putting the drawings together for your Critique; the go-to can either be Photoshop or InDesign, followed by Adobe Acrobat to complete the presentation. There is not a lot of difference when it comes to choosing a platform to create your presentation. However, InDesign is specific in creating layouts, titles and presentations and therefore can offer a little more than Photoshop.

